
T-shirts are considerably more than just a mode of clothing manufacturer. They may also be effective promotional tools.
Your company’s logo serves as its representation across all platforms, from websites to personalized t-shirts. You may establish brand identification and help to build your brand by designing as a bespoke t-shirt manufacturer with a logo. The logo alone can identify 75% of brands.
As vital as the logo is, the location of your t-shirt logo is one of the most crucial aspects of the shirt design. How much exposure your logo receives will depend on where to place designs on shirts.
Where A Design Should Be Placed On A Shirt?
Are you unsure of the design’s appropriate size for shirts? Or how far down should be from the color? Use this positioning chart for starting a t-shirt business!
We frequently consider the various sizes of designs to use and have sizing-related queries. Compared to a toddler shirt, how big should the design be on an adult large shirt? Here are some suggestions for getting the ideal design size and placement for your HTV design on shirts of all sizes if you are currently in that situation.
You’re going to get professional-looking t-shirt design ideas for the placement guides after reading this article. This can be applied on shirts made using HTV, iron-on vinyl, sublimation, or any other method.
Standard T-Shirt Design Placement Guide
Numerous choices must be made when making a clothing line business plan. The dimensions of your logo design and its t-shirt placement guide are two of these choices.
When creating a t-shirt logo, it’s crucial to consider the logo’s size in proportion to its placement, area, and position. It’s all about attractiveness and readability. You want your brand to stand out without taking over the look of your t-shirt manufacturing.
Large logos will not print properly on smaller shirts, such as youth sizes. A logo that is too small for a prominent spot, such as the front center of the shirt, won’t attract much attention and isn’t worth printing.
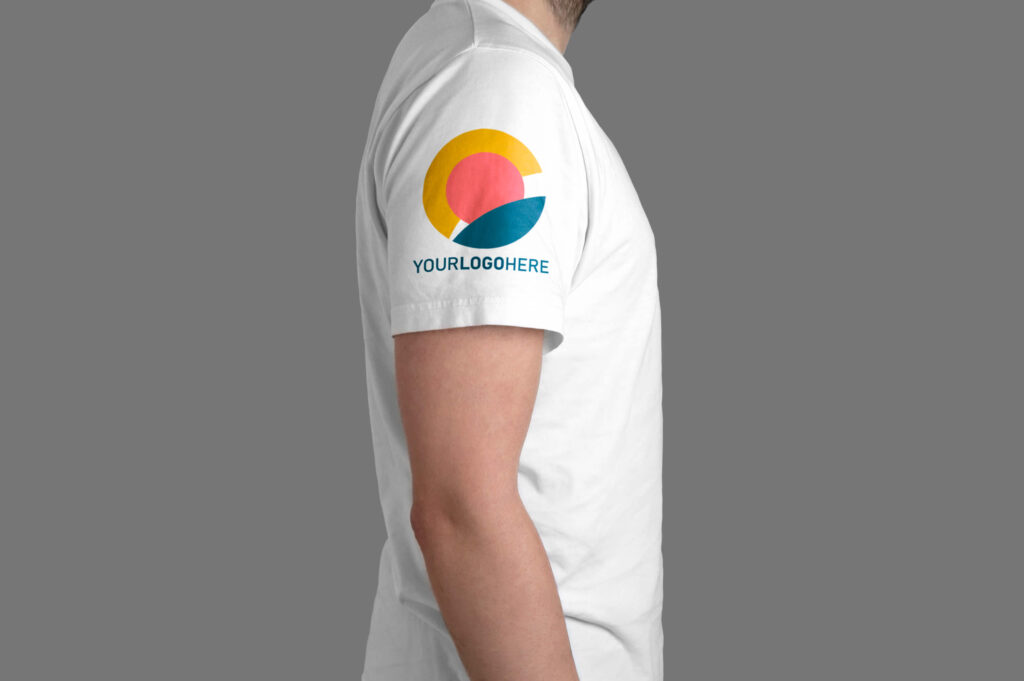
However, placing a logo on a shirt pocket that is too large looks unattractive and may give the wearer a less-than-professional impression. The left breast is the most popular location for T-shirt logo placement, therefore choosing this spot will be a fantastic choice for you. However, how big should a left chest design placement be?
Left Chest Style
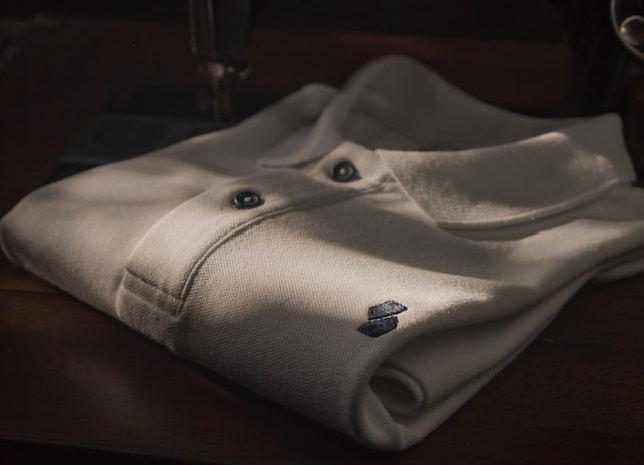
Button-down shirts, polo shirts, or a small company logo look excellent with the Left Chest Design placement. Measure 7-9 inches down from the top shoulder seam, then draw an illustrative line between the middle of the middle line and the side seam. You should set the design’s center there. You can also measure 4 inches in from the center line if you need to fit a larger shirt size. Avoid having the pattern extend toward the armpit region.
Center Chest
The typical placement for the top of a center chest pattern is 3-3.5′′ from the bottom of the neck edging.
Full-Front Design
It can be challenging to print in this area. As a general rule, you should keep your distance from the abdomen. Instead of the full shirt’s center, focus on the design placement in front of the shirt. The design’s top should be positioned similarly to how a center chest print would be. Most adult sizes fit a fitted shirt with a 9′′ x 9′′ design, while a looser-fitting shirt looks fantastic with a 10′′ to 11′′ broad design.
Back Collar

Smaller design sizes are ideal in this area. The back of the shirt design placement is a wonderful place for a logo or graphic element because it is directly at eye level. The recommended design size is 2 to 3 inches square. The top of the design should be positioned between one and two inches from the collar’s bottom.
Higher back
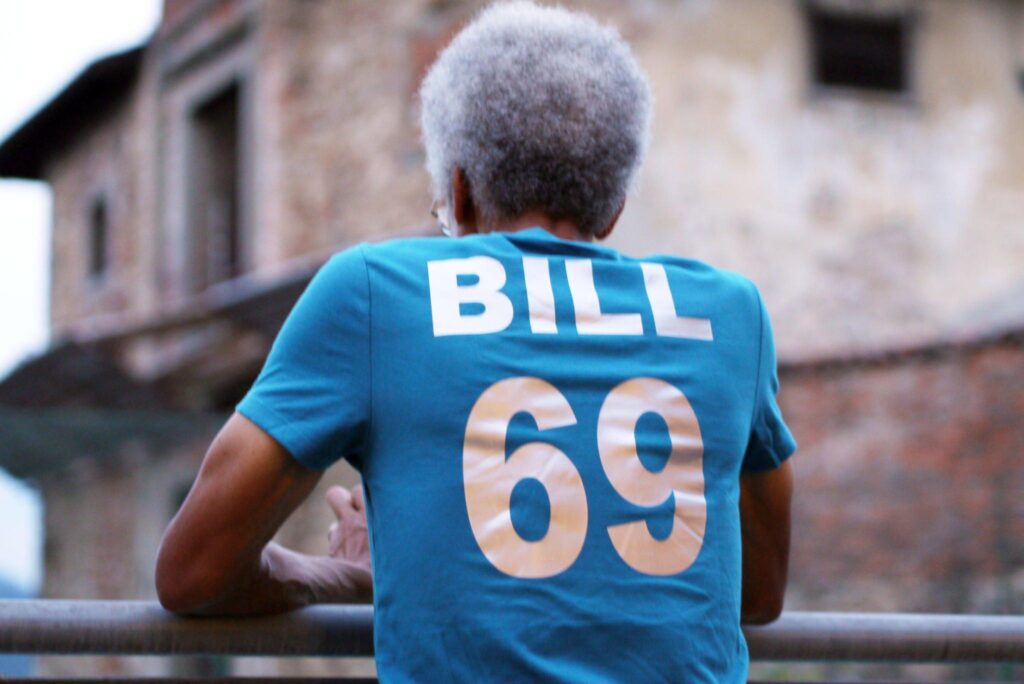
With security or staff work design size for the back of the shirt, this location is frequently found across the shoulder blades. Additionally, it is where personalized bridal denim jackets are printed. Designs typically measure 12 inches broad by 6 inches tall.
Whole Back
Great for huge designs, full back 14 inches in height and 12 inches in width. On adult shirts for women, this is an excellent location for image placement on the back of the shirt because it’s much simpler to read than the front positioning, which is placed too large.
Sleeve Design
The pattern should be roughly 3′′ square for short sleeves. The design’s bottom is positioned about an inch above the hem. A vertical pattern can be as much as 11 inches tall and as much as 2 inches wide on a long sleeve.
Where Do You Place A Chest Logo On A Shirt?
Do you know where a left chest print should go on a garment, no matter what it is or why you are pressing it? This shirt placement guide for the design frightens some individuals. Without even realizing it, others are printing it incorrectly.
There are numerous alternatives for design placement when printing on custom clothing manufacturers. One technique to produce a distinctive appearance is to vary the location of the print on the shirt.
The left chest design is one of the more common design positions. Designs with a left chest are ideal for:
- shirts with brand logos
- button-down shirts
- polo shirts
- or front-and-back prints
The best part is that you can make a gang sheet and gain more from a transfer sheet, which makes them highly profitable. The left chest can be one of the trickiest areas to apply for personalized transfers. The print is frequently placed too close to the shirt’s edge, which causes it to fall under the arm when the shirt is worn.
No matter the size of the design or the size of the shirt, there is a straightforward approach to prevent any errors when selecting to print a left-chest logo.
Sizes That Work Best For Left Chest Logo Prints
One of the most common locations for the design of a logo for an organization, business, event, or even a school is on a T-left shirt’s chest, so these logos must be flexible enough to fit on a variety of T-shirt sizes.
The most popular sizes for this logo placement on shirts, nevertheless, are standard sizes. These typical dimensions for t-shirt design are:
For a left chest logo intended to fit on a pocket, the dimensions are 3.5′′ X 3.5′′ for adult shirt sizes and 3′′ X 3′′ for youth shirt sizes.
How Tall Should A Design Be On A Shirt?
Shirt designs for adults should typically range in size from 11 to 14 inches. You simply need between 5.5 and 9 inches for a children-sized placement t-shirt design size chart.
Front Design Length
Depending on the t-shirt design size guide, the size of the image you’ll print on it will usually be between 11 and 13 inches if you want it to be beautiful and large. The length of a sheet of paper, which is 11 inches, gives you a good idea of how big your picture will be when it is printed on clothing.
Medium Design length
You can roughly predict how your eight-and-a-half-inch wide print will appear on your shirt by aligning the short side of the piece of paper.
Small Design length
Folding a piece of paper in half along its long edge will make it simple to see a little front logo. You may get a fair idea of how a smaller, centered logo will appear when printed on a shirt with this.
Left chest print design length
A breast print should typically be between 3 and 4 inches wide. You can get a fair idea of how big your 4″ graphic can seem by folding the wide end of the piece of paper in half once more. Compare the 4″ and 3″ sizes, folding it in by about an inch, to see which is more practical for you.
Sleeves print design length
Generally speaking, a screen-printed sleeve t-shirt graphic placement should be about 2 inches wide. Your 4.25-inch page will be roughly 2 inches broad after folding it in half. The print on this sleeve is just that size.
How Do You Center A Shirt For Printing?
- Line align the seams on your shirt or another item before folding it in half vertically. If you’re using an Easy Press or an iron, place it on your press or in your pressing area.
- Using your preferred pressing technique, wrinkle your shirt vertically in the exact middle for a little period.
- Remove any excess material from the carrier sheet by taking the bottom layer of your pattern and folding it in half with the sticky side of the material on the outside to prevent the sides of your design from sticking together.
- To create a crease in the carrier sheet’s material, pinch the top. Your design may have a wrinkle, but that’s okay because it will press out.
- When your design is unfolded, align the carrier sheet’s crease with the crease in your clothing.
Final Words
Your standard size for t-shirt design may stand out from the crowd and increase brand awareness with the help of a strong t-shirt logo. Your logo’s positioning and design only serve to improve how your brand is presented.


